How SysMail NSF to O365 Migration Works
Basic requirement : Lotus Notes must be installed on the system otherwise you won't be able to perform the migration process of NSF files
STEP 1 : Open SysMail NSF to O365 Migration
NEXT STEP
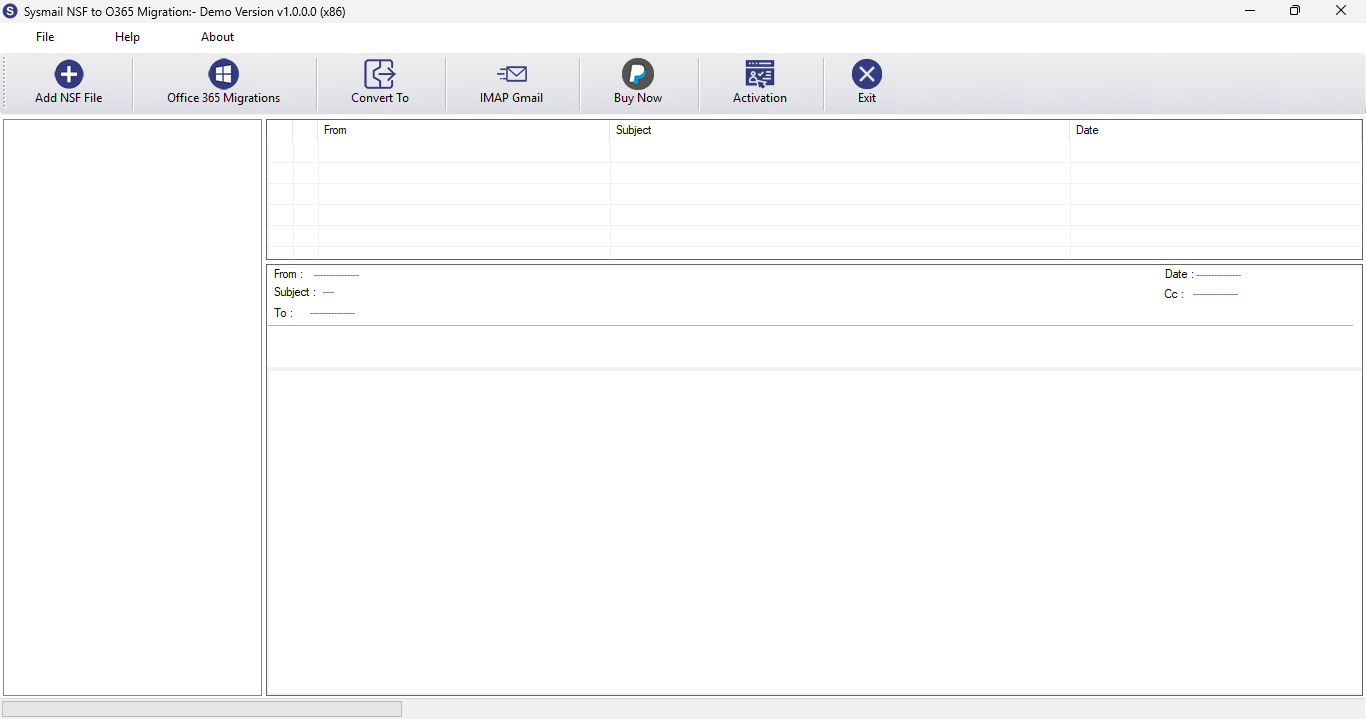
Download and Install SysMail NSF to O365 Migration. Run the software, click on Next Button Start Software. If you want to buy software click on "Buy Now" Then Open directly Software Purchase Page.
Overview
STEP 2 : Browse & Select Lotus/HCL Notes (*.nsf) file
PREVIOUS STEP NEXT STEP
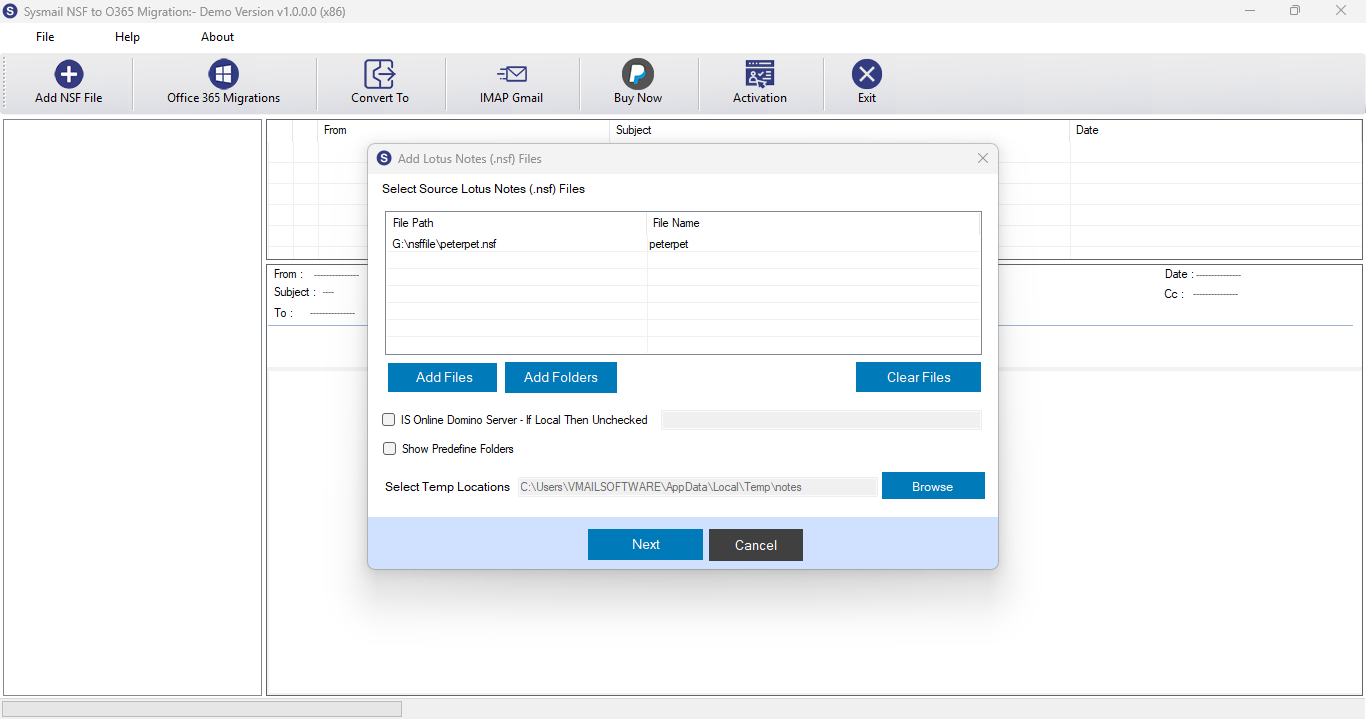
After Opening SysMail NSF to O365 Migration Then Click on Browse Button then Open Dialog. here users can select and add Lotus/HCL Notes (*.nsf) file then click on "Add File" Button for conversion.
Overview
STEP 3 : Scanning and preview Lotus/HCL Notes (*.nsf) file Data
PREVIOUS STEP NEXT STEP
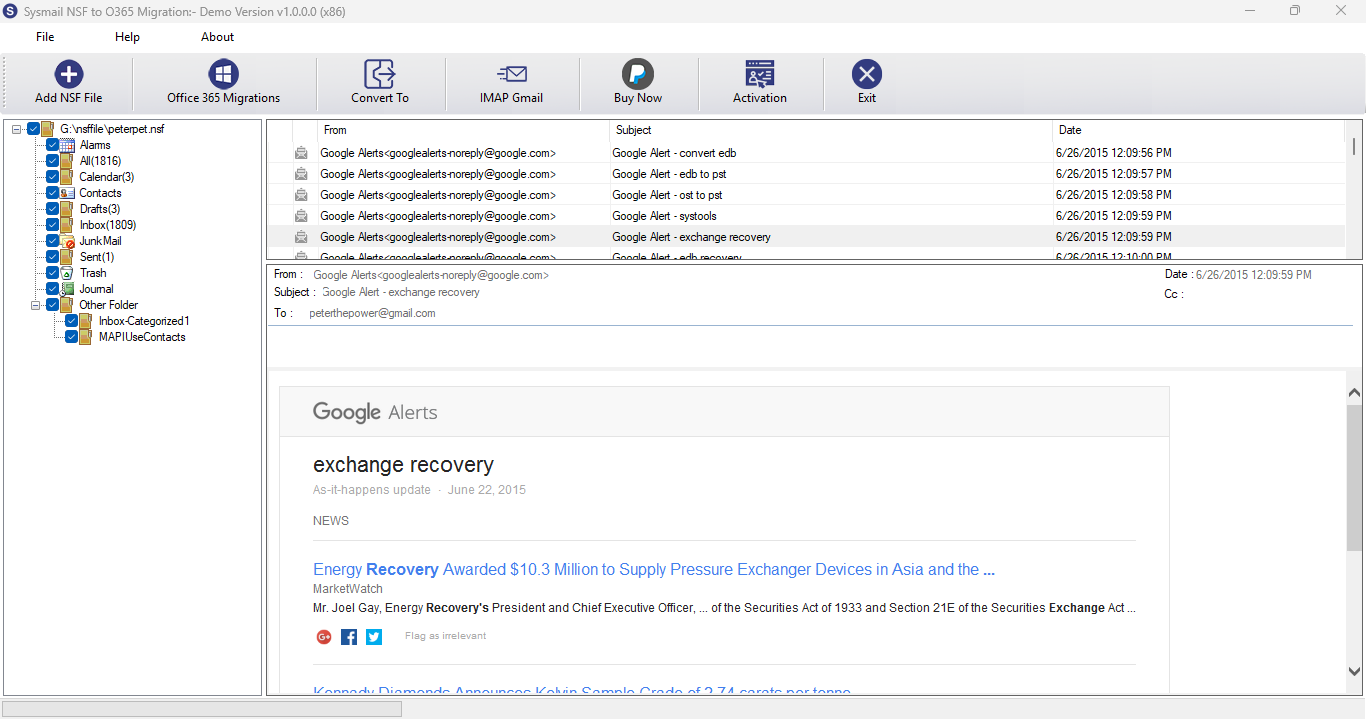
After Click on Next Button Then Software automatically started file scanning process. After few min or sec. SysMail NSF to O365 Migration Showing Scanned file preview on Left Panel. when click on Folder Left Side - Software will be loaded Lotus/HCL Notes (*.nsf) Mail List.
Overview
STEP 4 : Export Lotus/HCL Notes (*.nsf) Mail Option
PREVIOUS STEP NEXT STEP
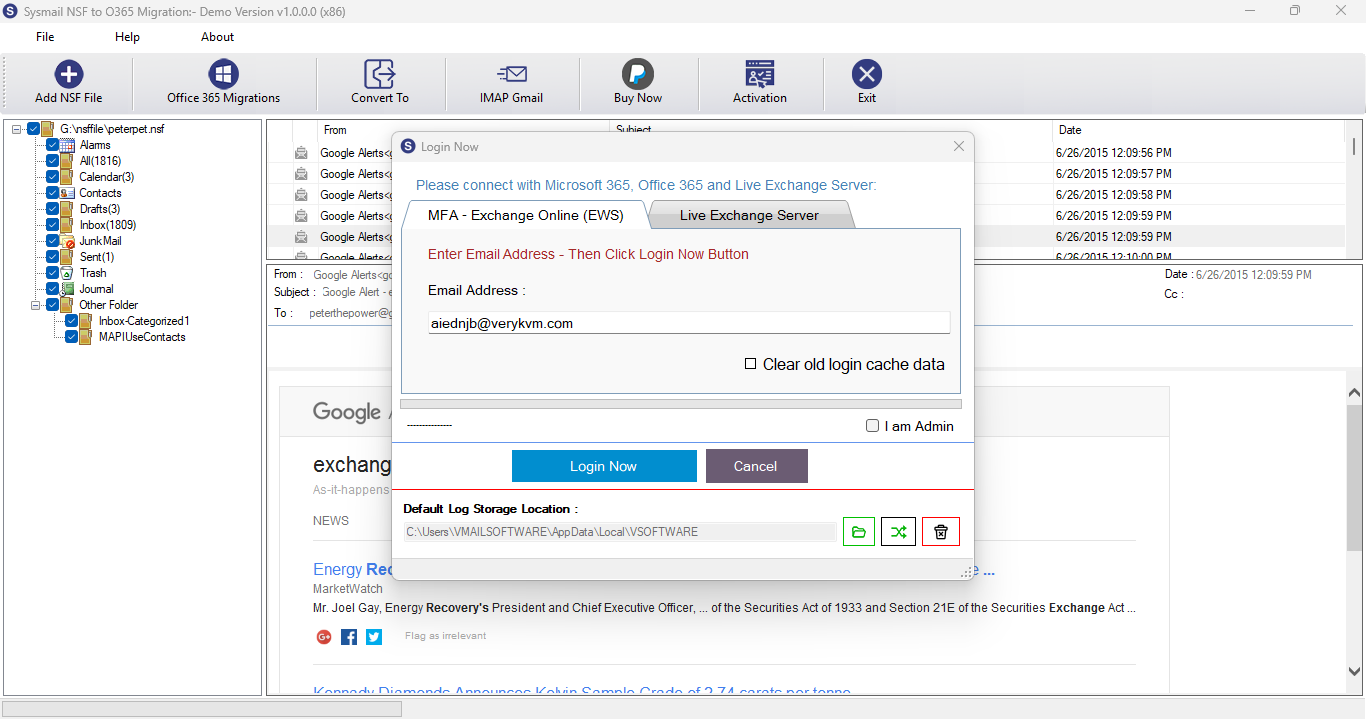
You can click on Office365 Button Then Software will be Open Dialog for Office 365
Overview
STEP 5 : Lotus/HCL Notes (*.nsf) Mail - Office365 Login Panel
PREVIOUS STEP NEXT STEP
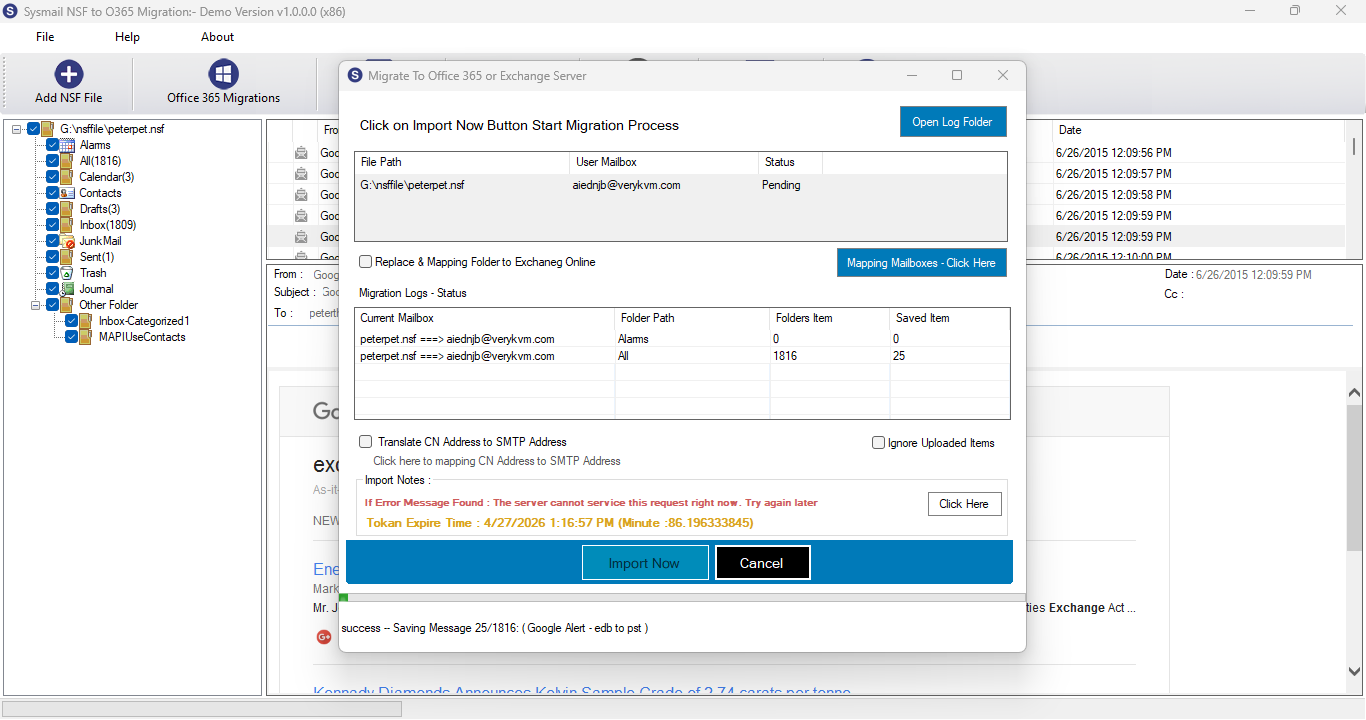
Here users can Login to Office365 or Live Exchange Server Mailboxes Account. After Login Process Complete then Open Migration Process Dialog - Do Mapping Lotus/HCL Notes (*.nsf) File to Office 365 User Account if you are global admin user. Then click on Import Now Button to Start Migration Process. After Few Min/hours Complete Migration Process
Overview
STEP 6 : Start Conversion Process
PREVIOUS STEP
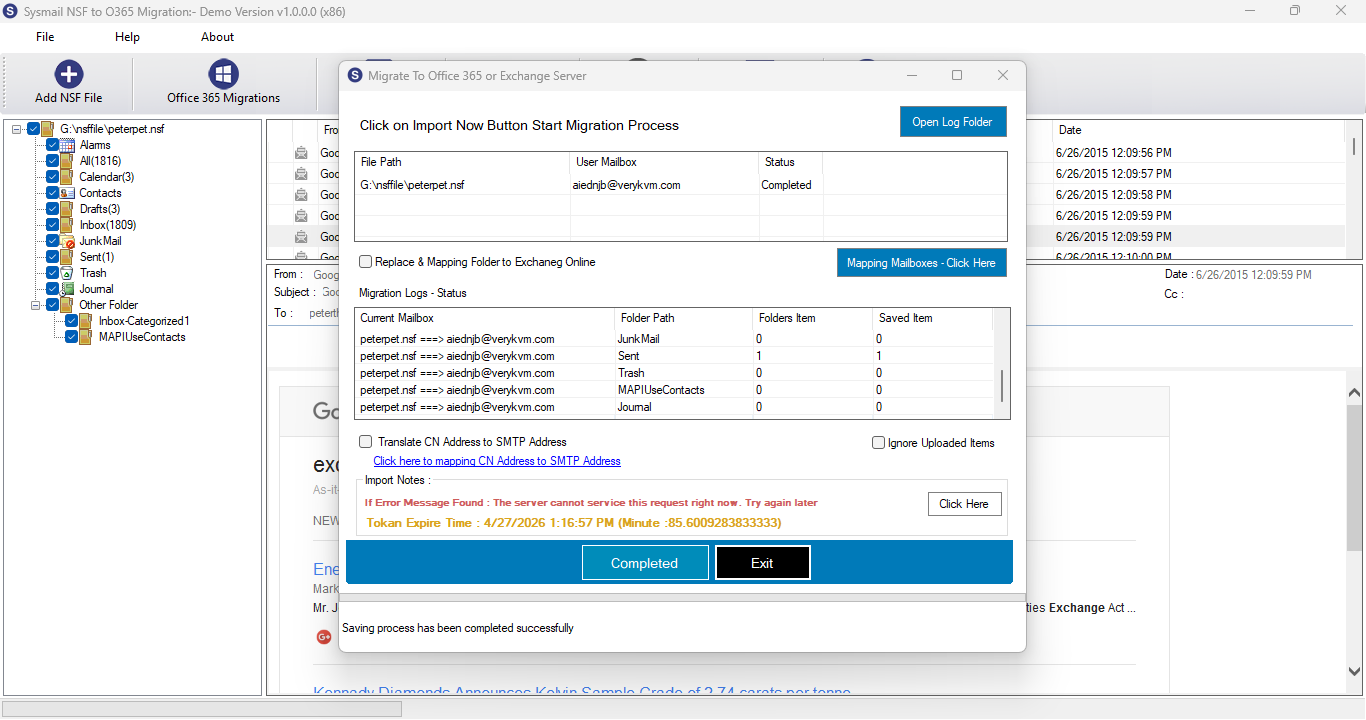
Click on "Import Now" or "Convert Not" Button to Start Migration or Conversion Process. After Few Min/hours Complete Migration or Conversion Process.